Setting up routes in your Blue10 environment can minimise the manual actions needed to process your invoices and can save you a lot of time. That’s why we’ve created this blog, using everyday examples, to show you how you can set up routes in the Blue10 service.
Setting up Routes
When processing a purchase invoice, you choose which follow-up action you want to perform and to which user you want to send the purchase invoice next. You can select these actions manually for every purchase invoice you process, but you can also create a route to perform recurring actions automatically.
Setting up such a route will help you to complete (part of) your purchase invoice processing automatically. These routes can provide relevant suggestions or perform actions automatically. Setting up these routes in your Blue10 environment can minimise the manual steps required to process your invoices and can save you a lot of time.
In this blog, we will explain how you can set up these routes based on your purchase invoice processing. We’ll use a step-by-step approach to make it easy for you to understand how you can apply these steps in your Blue10 environment. To do so correctly, we need to know what your workflow looks like.
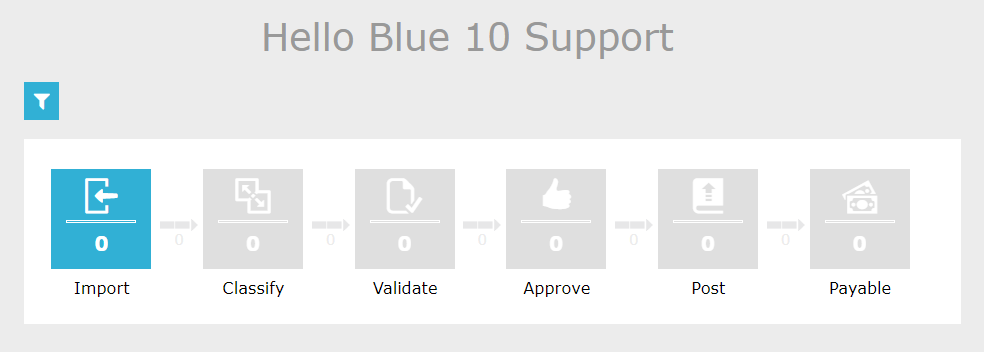
Log in to login.blue10.com and view your Dashboard (this is the start screen for your Blue10 environment). What does your workflow look like?